Reservation Timeline

Managing the Reservation Timeline in Qwizeen
The Reservation Timeline feature in Qwizeen provides an efficient way for restaurant staff to view, manage, and schedule reservations. By offering a clear visual representation of table availability and guest preferences, the timeline simplifies reservation management and helps improve the guest experience. Here’s how to use the Reservation Timeline effectively:
Accessing the Reservation Timeline
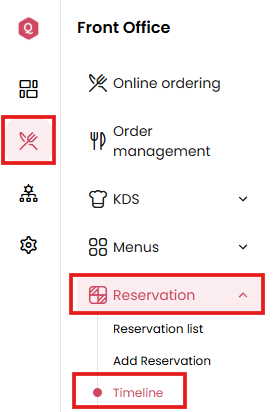
- Login to Qwizeen: Navigate to the Front Office section of your dashboard.
- Go to the Reservation Timeline:
- Select Reservations from the sidebar.
- Click on Timeline to view the current and upcoming bookings.
Understanding the Timeline View
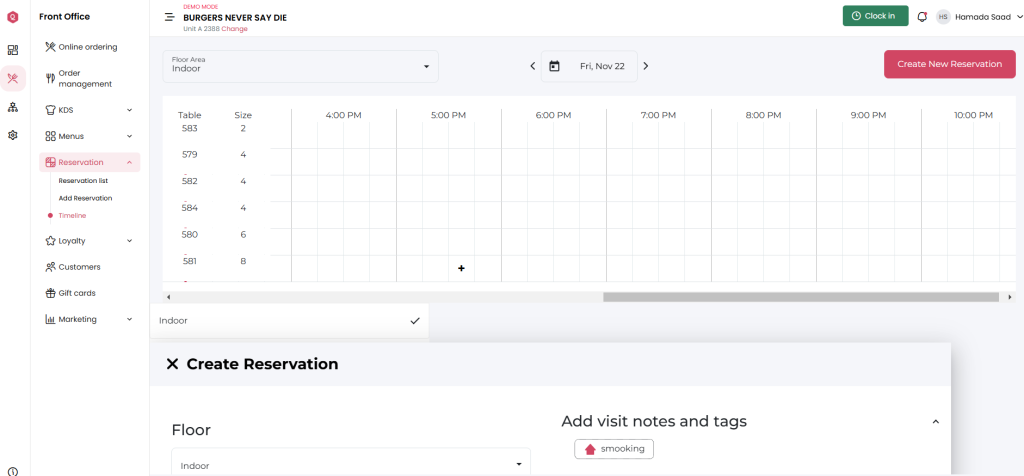
The Reservation Timeline displays the following details:
- Table Numbers: Each table is listed with its corresponding number.
- Party Size: Indicates the maximum seating capacity of each table.
- Time Slots: The timeline is divided into hourly intervals to represent table availability throughout the day.
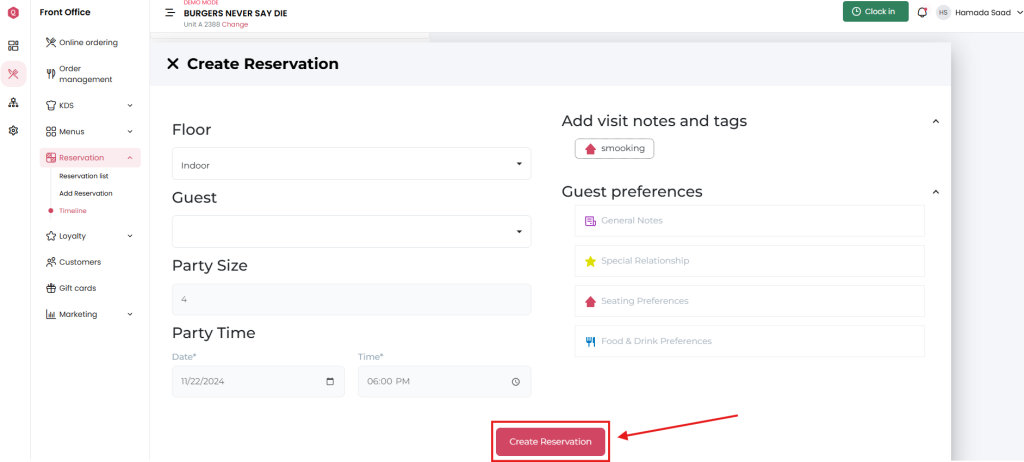
Creating a New Reservation
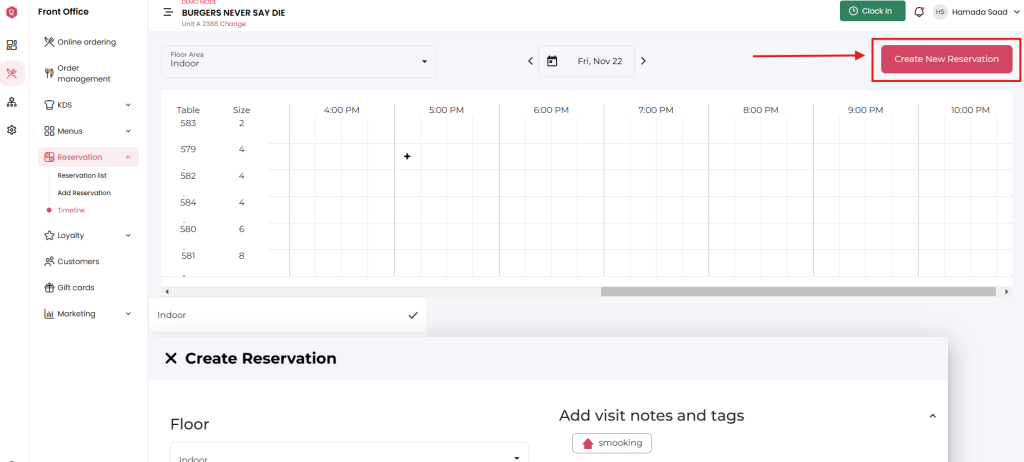
Click on ‘Create New Reservation’: Use the button in the top-right corner.
Fill in the Reservation Details:
Floor: Select the desired floor area (e.g., indoor or outdoor seating).
Guest Name: Enter the guest’s name.
Party Size: Specify the number of guests in the party.
Party Time: Choose the reservation date and time.
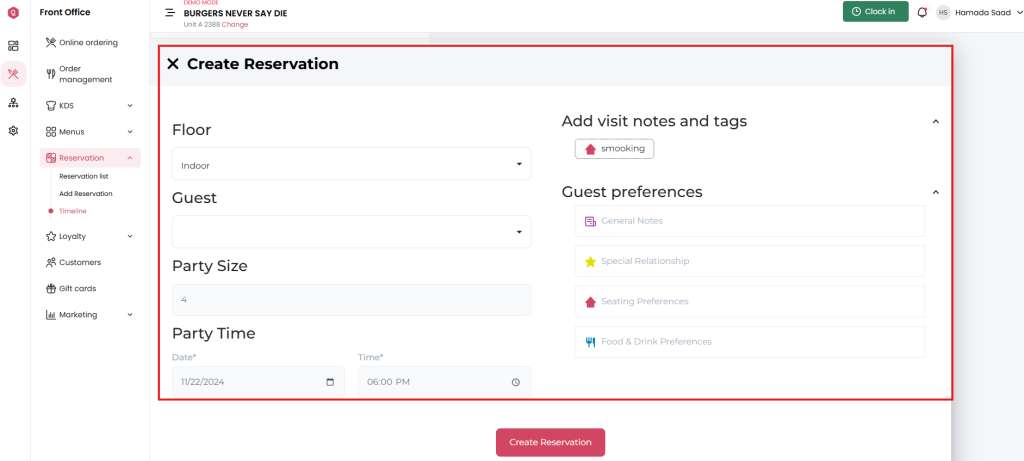
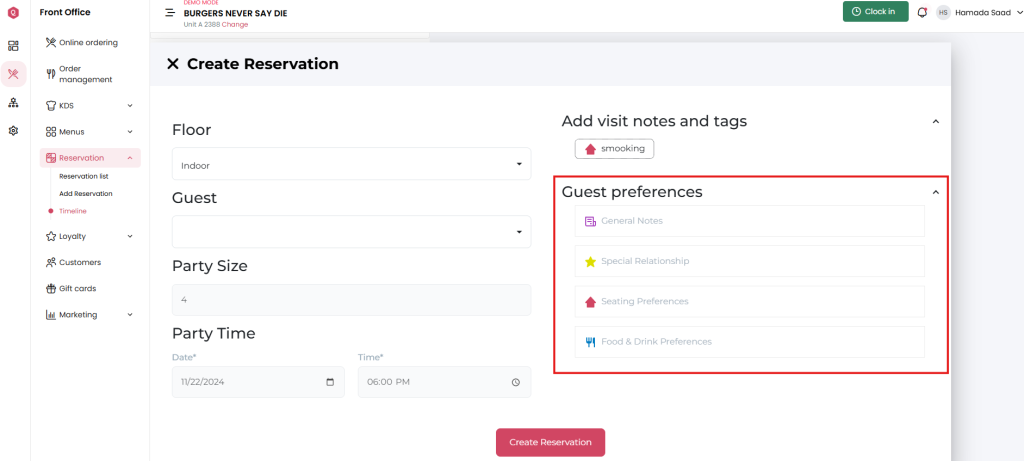
Add Notes and Preferences:
Use the guest preference fields to specify:
Special seating requests.
Dietary or drink preferences.
Relationships (e.g., regular customers or VIPs).
Add notes such as “smoking” or “birthday celebration” for extra context.
Save the Reservation: Once all details are entered, click Create Reservation.
Viewing and Managing Reservations
Quick Overview: Scroll through the timeline to see which tables are booked and their corresponding time slots.
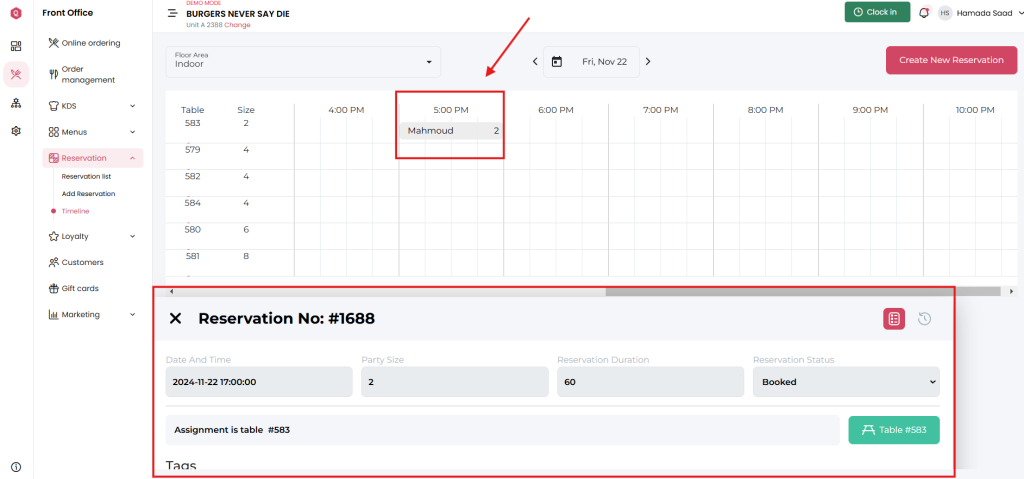
Identify Guest Preferences: Use the tags and notes on the right-hand panel to accommodate special requests.
Tips for Efficient Reservation Management
- Monitor Capacity: Regularly check the timeline to avoid overbooking during peak hours.
- Plan for Turnover: Account for table clearing and preparation time between bookings.
- Communicate with Guests: Use the notes and guest preferences to personalize the dining experience.
By utilizing the Reservation Timeline, your team can deliver a seamless dining experience while ensuring tables are managed efficiently. With features like real-time availability and guest preference tagging, Qwizeen empowers staff to exceed customer expectations.