Meal Prep, Shipping Labels

Step by step
Overview
The Shipping Labels feature helps you manage and create shipping labels for meal deliveries. Specify delivery dates, include/exclude pending verification or payment orders, and ensure accurate labels.
Accessing Shipping Labels
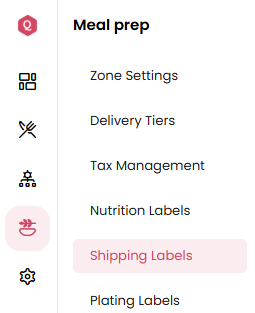
Go to the Meal Prep section in the sidebar.
Click Shipping Labels.
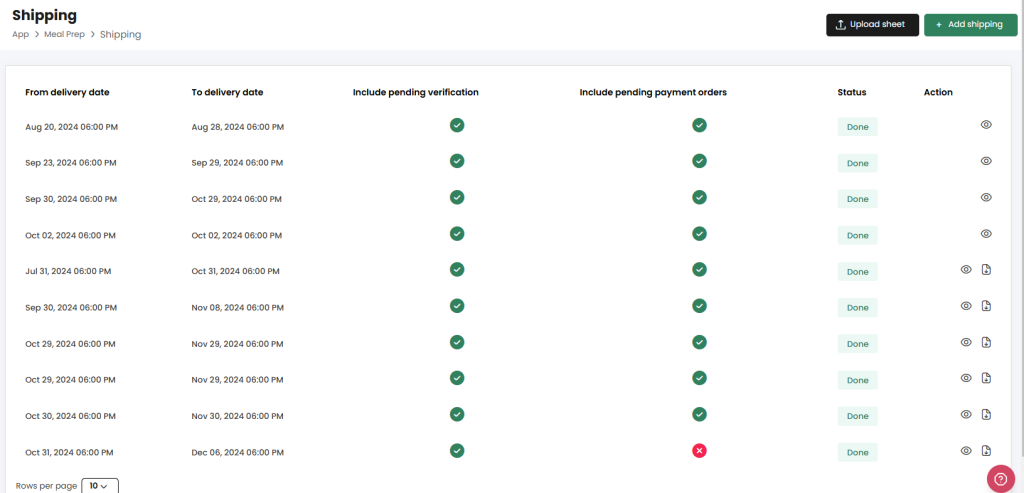
View existing shipping label requests with details like delivery dates, verification status, payment status, and actions.
Key Features
1. Existing Shipping Requests
On the dashboard:
- From/To Delivery Date: Shows the shipping request’s date range.
- Include Pending Verification: Indicates inclusion of unverified orders.
- Include Pending Payment Orders: Shows if unpaid orders are included.
- Status: Displays request status (e.g., Done).
- Action: Options to view, duplicate, or edit requests.
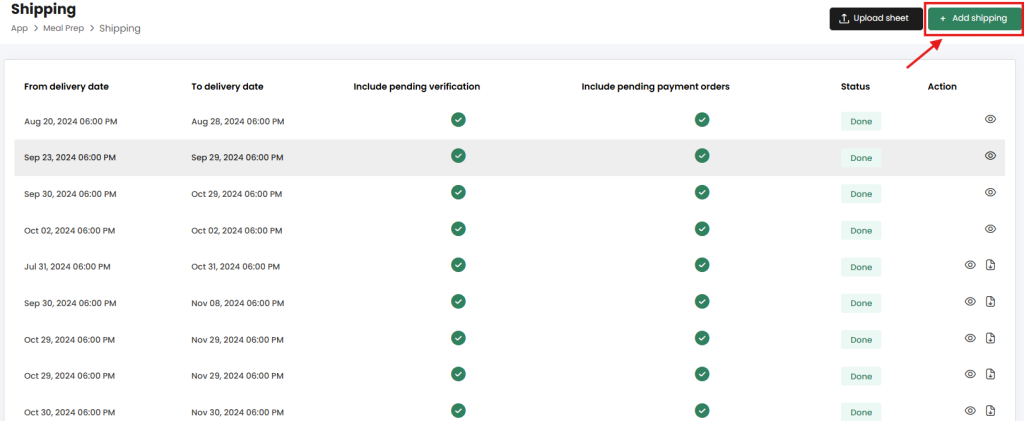
2. Create a New Shipping Request
Click Add Shipping.
Complete the form:
Zone: Select a delivery zone.
Include Pending Verification Orders: Choose to include unverified orders.
Include Pending Payment Orders: Decide on unpaid orders.
From/To Dates: Set the date range.
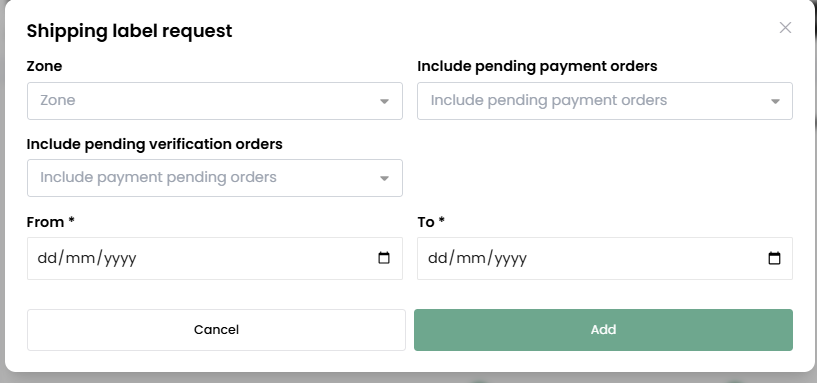
Click Add to save.
3. Upload a Shipping Sheet
If you have a prepared sheet, click Upload Sheet. File requirements:
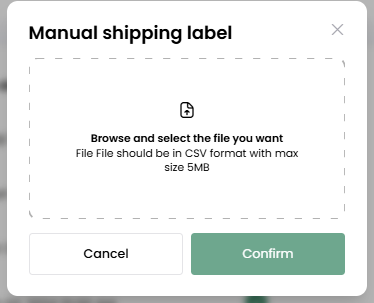
- Format: CSV or Excel.
- Must contain necessary order details.
Common Actions
Viewing Shipping Details
- Click the View icon in the Action column.

Tips
- Keep Info Updated: Ensure delivery and order details are current before generating labels.
- Check Files: Verify uploaded files meet format requirements.
- Review Requests: Double-check for completeness to avoid missing orders.
For help, use the support icon at the screen’s bottom.